- #insurance
- #documentation
- #claims
- #queensland
- #water-damage
To document a water damage insurance claim in Queensland, photograph and video every affected area before touching anything, record the source and time of the water, keep the failed component, lodge the claim promptly with an accurate description, get a restorer’s moisture map and daily drying log, keep every receipt for mitigation, and list all damaged contents with photos. Insurers decide claims on evidence, and most of it can only be gathered in the first day.
This is the process step by step, in the order it actually happens, with notes on what assessors look for and where claims go wrong.
Step 1: Before you touch anything (first 30 minutes)
Safety first: stop the water, cut power to wet areas. Then, before any cleanup, record the scene.
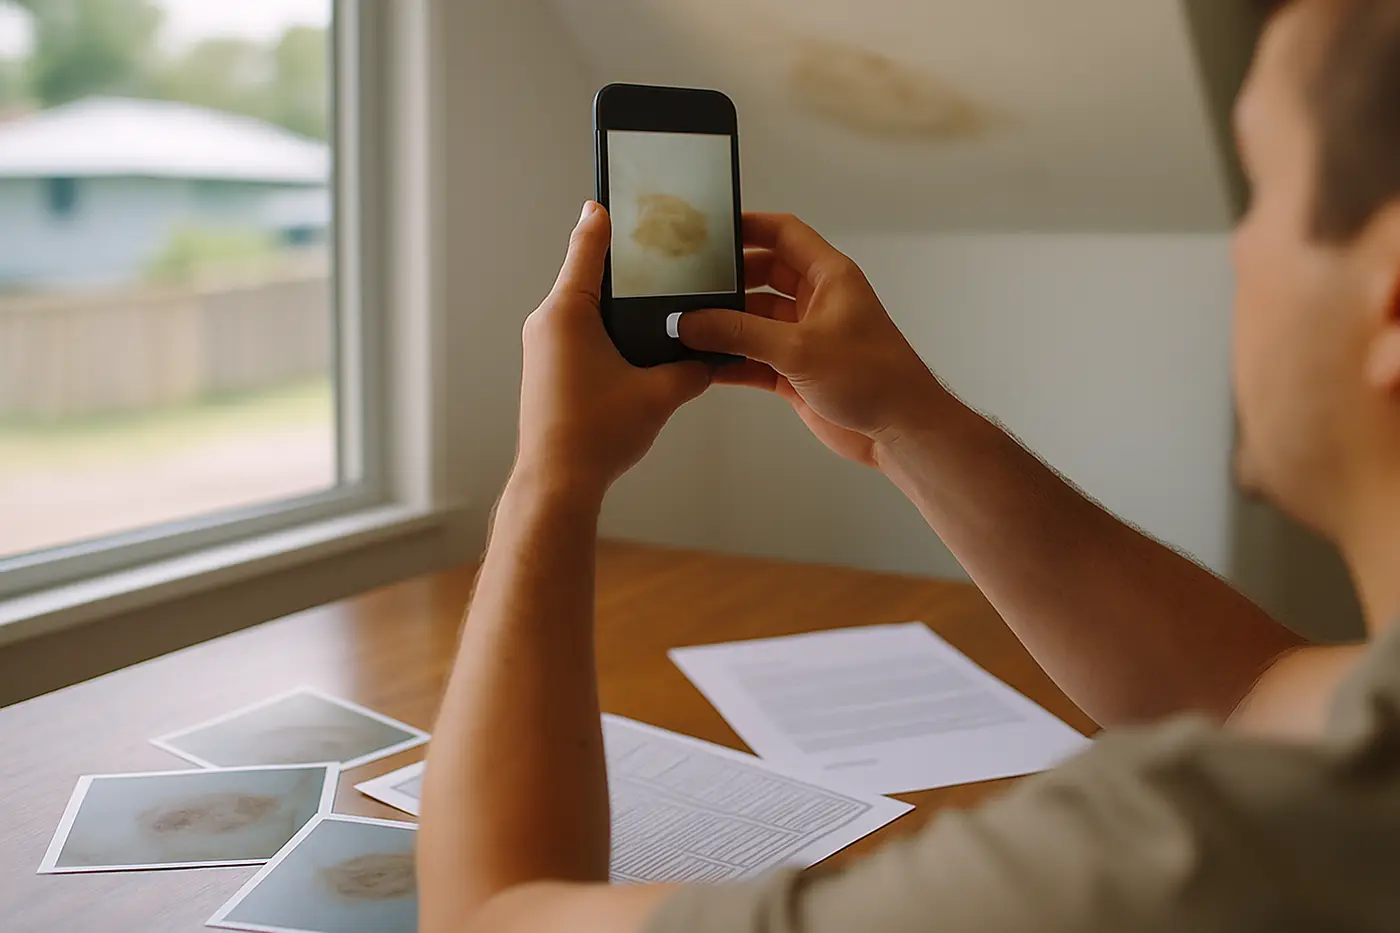
Photos. Use your phone; it timestamps every image. Take:
- A wide shot of each affected room from the doorway.
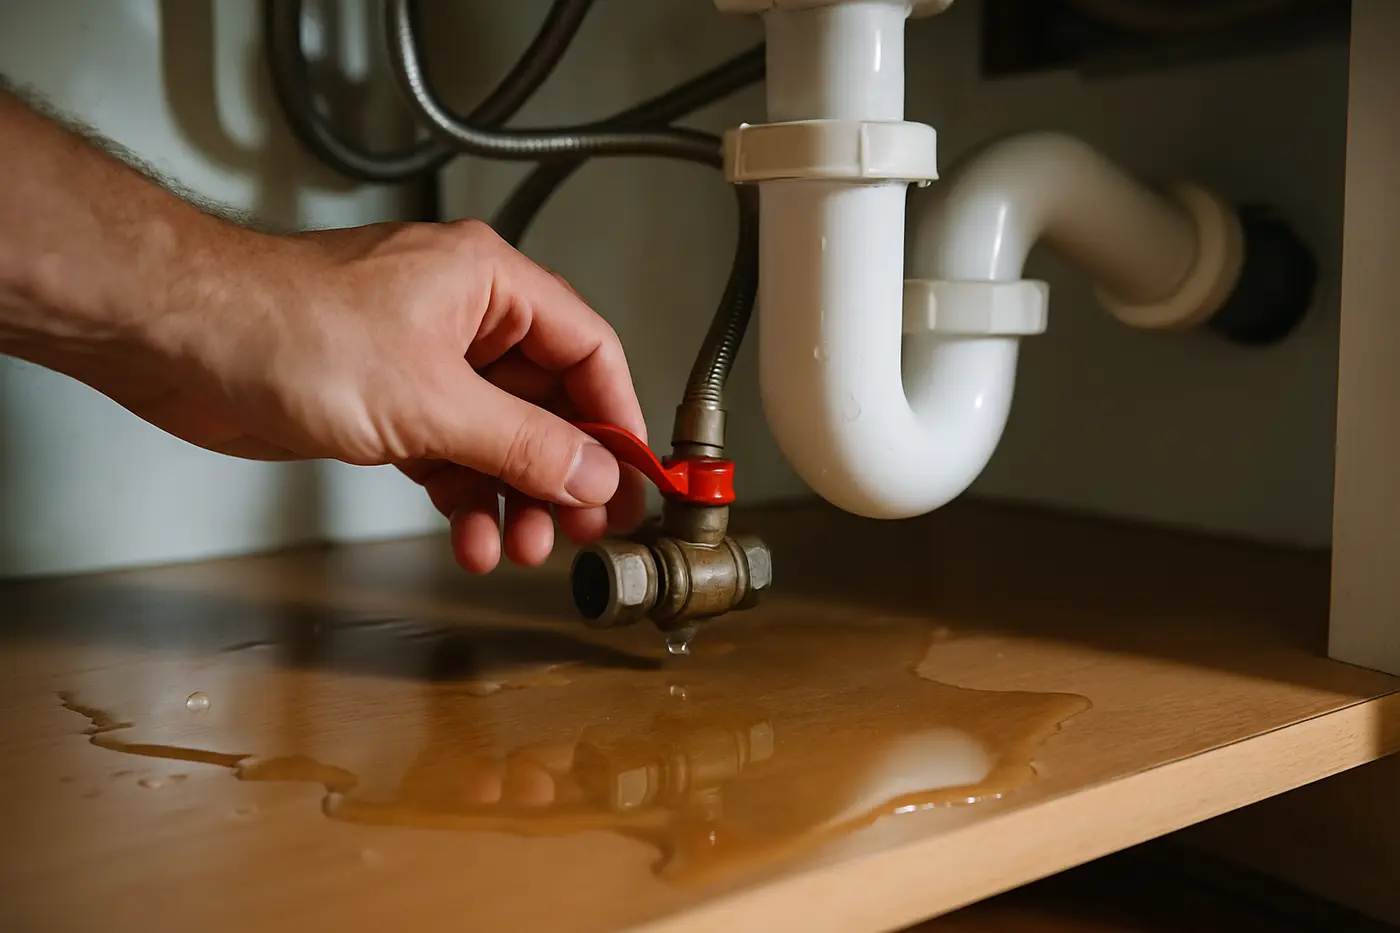
- The water source: the split flexi hose, the ruptured hot water tank, the hole in the ceiling, the overflowing gutter.
- The extent of water on the floor, including where it stops.
- The height of wetting on walls, with a tape measure or a known object for scale.
- Damaged contents where they sit: the rug, the wardrobe floor, the books, the electronics.
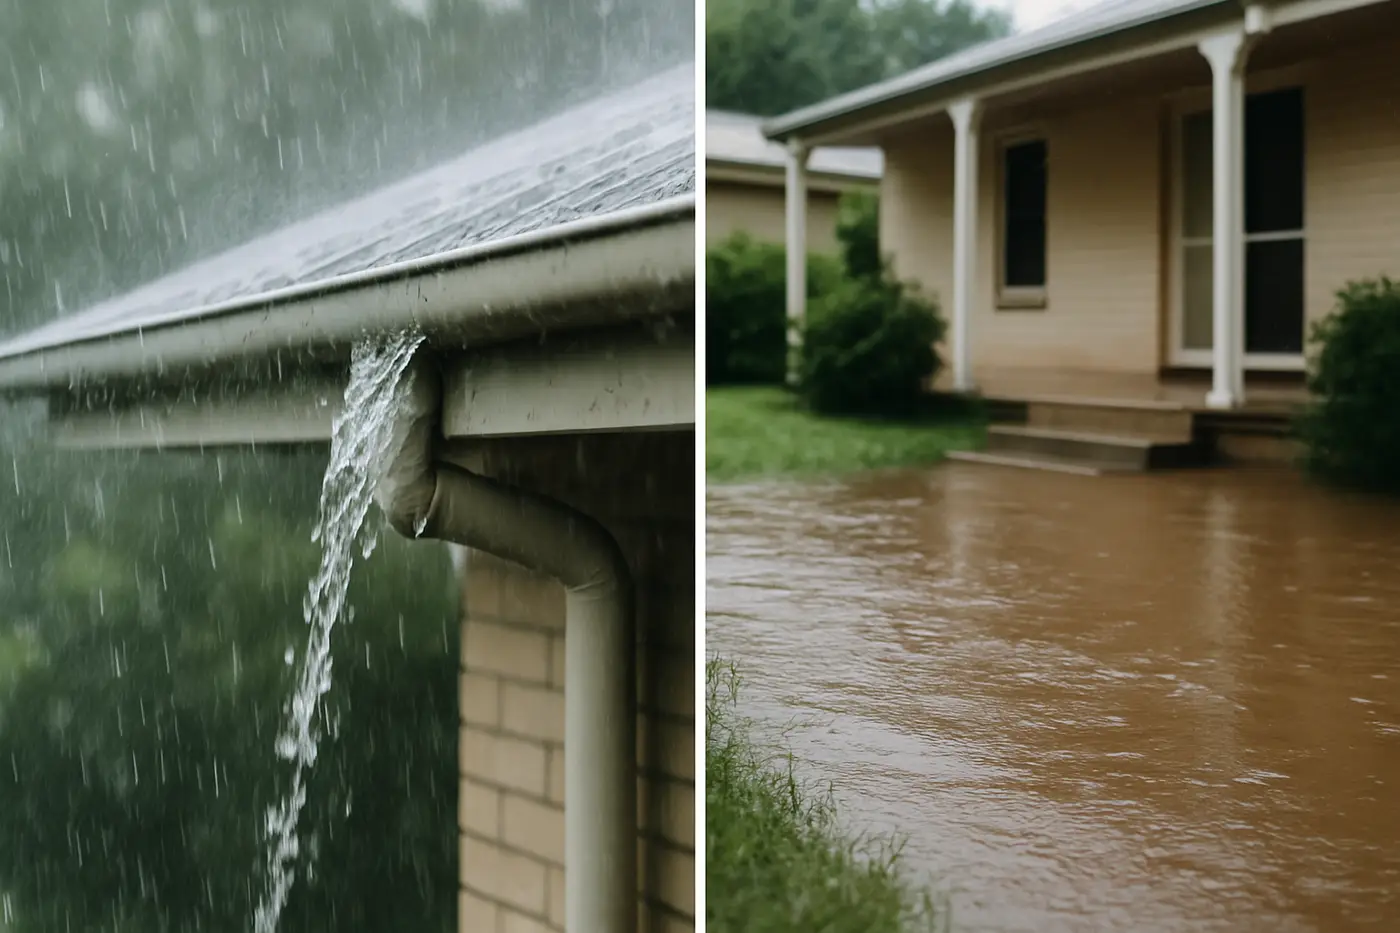
- For storm events, the roof, gutters and yard from the ground, and hail if any.
Video. A slow walk-through of every affected room, narrating what you see and the time. If water is actively entering, film it. Nothing establishes “sudden” like footage of it happening.
Notes. When you discovered the water. When you think it started. What you did to stop it. Who else was present.
Do not stage anything. Do not move items for a better shot. Assessors see hundreds of claims and staged scenes are obvious.
Step 2: Mitigate, and document that too
Queensland home policies require you to take reasonable steps to prevent further loss. Mitigation is not just allowed; it is expected, and the cost is generally covered.
As you mitigate, keep recording:
- Photos of contents moved to dry areas.
- Photos of standing water being removed.
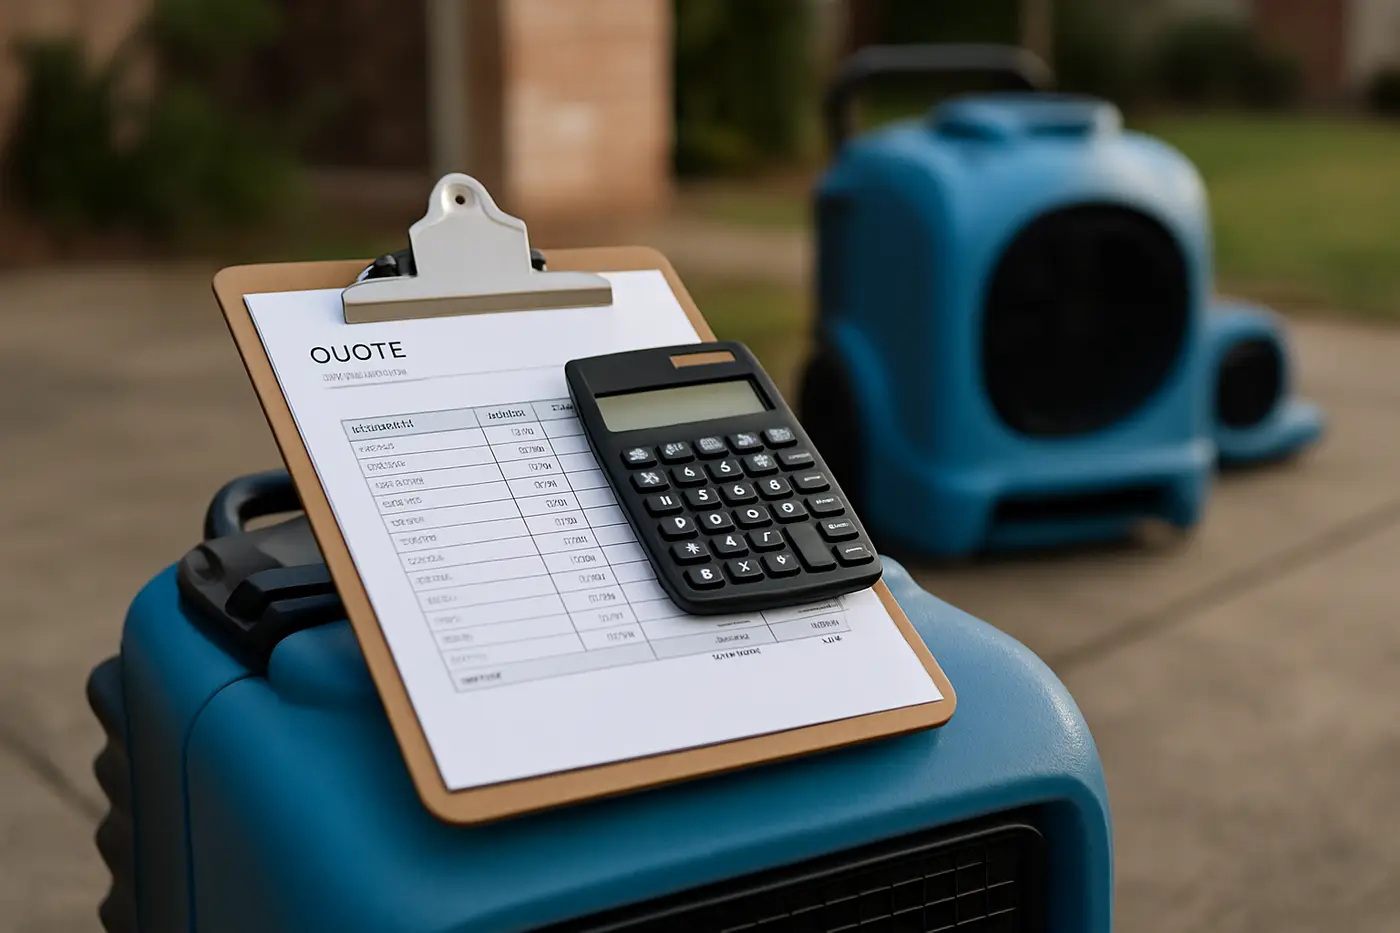
- Receipts for anything bought or hired: fans, a dehumidifier, a wet vacuum, cleaning products, skip hire.
- Invoices from a plumber, electrician, roofer or make-safe contractor.
- Photos of any materials you have to remove for safety, such as a sagging ceiling.
Our first hour after water damage guide sets out the practical sequence.
Step 3: Keep the evidence
Physical evidence matters more than people expect.
- Keep the failed component. The burst hose, the cracked fitting, the split pipe section. Assessors sometimes want to see it, and the corrosion pattern on a flexi hose shows a sudden failure rather than neglect.
- Keep damaged materials where practical. A section of carpet and underlay, a piece of swollen particleboard, a cut-out of stained plasterboard.
- Where keeping is unhygienic, such as sewage-contaminated carpet, photograph the item from several angles, measure it, note the brand and condition if known, then dispose of it. A written list with photos is accepted.
Step 4: Lodge the claim
Most insurers accept claims online or by phone the same day. Lodge early. The claim number is what every subsequent document attaches to.
When describing the event:
- Be accurate and complete. Describe every way water entered, in the order it happened. If a storm lifted a roof sheet and then a creek came up, say both. Our article on flood versus storm claims explains why the distinction matters and why simplifying the story hurts you.
- Give times. When you discovered it, when it started if known, when you stopped it.
- Name the cause if you know it. “Braided flexible hose under the vanity ruptured” is better than “leak in the bathroom”.
- Ask what is authorised. Most insurers authorise emergency make-safe and mitigation up to a limit without waiting for an assessor. Get that in writing (an email is fine) and the limit.
- Ask about contractors. Whether you can use your own restorer for mitigation and whether the insurer has a panel for the main works.
Step 5: The restorer’s documentation
A professional water damage restoration company produces the technical evidence that an assessor cannot gather days later. The report should contain:
| Document | What it shows |
|---|---|
| Initial moisture map | Every wet material, readings, and a dry-standard reference from an unaffected area |
| Water category and class | Category 1, 2 or 3 under IICRC S500; class by evaporation load. Drives what is dried versus removed |
| Photo set | Before, during and after, matching the moisture map |
| Scope of works | What will be extracted, treated, removed and dried, and why |
| Equipment log | Units placed, where, for how many days |
| Daily drying log | Readings at each point every day until the dry standard is reached |
| Materials removed | List with photos and reasons |
| Completion certificate | Confirmation that drying is complete, with final readings |
This package answers the three questions every assessor asks: how bad was it, was the response reasonable, and is it finished. The daily drying log in particular protects you if mould appears months later, because it proves the structure was dried to a standard on a known date.
Step 6: Contents inventory
For a contents claim, build a list. A spreadsheet or the insurer’s form works. For each item:
- Description, brand and model where known.
- Approximate age and purchase price.
- Condition and what happened to it.
- Photo of the damage.
- Any receipt, bank statement, warranty card or online order history.
Do not exaggerate. An assessor who catches one inflated item treats the rest of the list with suspicion. Include the small things; a wardrobe of clothes on a wet floor adds up.
Step 7: The assessment visit
The assessor, or sometimes an assessor and a builder, will attend. Have ready:
- Your photos and video, organised by room and date.
- The restorer’s report and moisture map.
- Receipts and invoices for mitigation.
- The failed component and any retained samples.
- Your contents list.
- Notes on the timeline.
Walk them through it in the order it happened. Point out water lines and wet boundaries that have since dried; your day-one photos show where they were. If they miss something, say so politely and show the photo.
After the visit, ask for the scope of works in writing.
Step 8: Reconcile the scopes
The insurer’s scope, your restorer’s report and your builder’s quote should describe the same job. Where they differ, identify the specific line and raise it with the claims officer, supported by the moisture map or photos. Common gaps:
- The assessor scoped one room; the moisture map shows water in three.
- The scope dries plasterboard that the restorer’s Category 3 assessment says must be removed.
- Contents are scoped as clean-and-return where they are unsalvageable.
Most differences resolve at this stage with evidence. If they do not, the insurer’s internal dispute process and then the Australian Financial Complaints Authority are available at no cost.
Common ways claims go wrong
- Cleaning up first, photographing later. The most common and most damaging mistake. Photos of a dry, tidy room prove nothing.
- A story that changes. The claim form says burst pipe; the assessor hears about a storm. Tell the whole story from the start.
- No evidence the event was sudden. A slow leak under a shower is excluded on most policies. If the event was sudden, show it: the burst hose, the timestamped video, the neighbour who heard it.
- Delayed mitigation. Leaving a wet house for a week and then claiming for mould is difficult. Insurers cover mould that follows an insured event and prompt mitigation, not mould that follows neglect. Our guide to mould after water damage explains the 48-hour window.
- No moisture log. A drying job with no readings is hard to justify at the daily equipment rate, and impossible to defend if problems appear later.
- Discarding items without photos.
A one-page checklist
Print this and keep it with the policy.
- Stop water, cut power.
- Photograph and video every room, the source, wall heights, contents. Before touching anything.
- Note times and events.
- Mitigate. Keep receipts.
- Keep the failed part and material samples.
- Lodge the claim. Describe everything accurately. Ask what is authorised.
- Engage a restorer. Get the moisture map, scope and daily log.
- Build the contents list with photos.
- Prepare a folder for the assessor.
- Reconcile scopes. Dispute with evidence if needed.
Key takeaways
- Evidence gathered in the first hour decides most water damage claims. Photograph before you clean.
- Mitigation is expected and covered; document it with receipts.
- Keep the failed component and samples of damaged materials.
- Describe the event completely and accurately on the claim form, with times.
- The restorer’s moisture map and daily drying log are the technical backbone of the claim.
- List contents honestly with photos and proof of ownership where you have it.
- Disputes are won on documentation, and AFCA is free if the insurer will not move.
Our crews across Brisbane, Ipswich and Logan produce this documentation as a standard part of every job, and bill the insurer directly where the claim is approved.